TYLER TOLMAN BLOG
Salt Flush | The Answer to Fix Backed Up Bowels and Dull Skin

Salt Flush | The Answer to Fix Backed Up Bowels and Dull Skin
I believe that salt flushes are a fantastic way to really clean the entire digestive system.
Having a clean digestive system then has positive effects on every other system in your body, including your skin.
When Should I Do A Salt Flush?
I recommend doing a salt flush once in a while as part of keeping your body clean. A good time is during a juice fast, especially if you’re feeling a little backed up. In this case I would do a salt flush every 3-4 days depending on how I feel (normally I wouldn’t do a salt flush every day).
It can also be a really good idea to do a salt flush even before you start a juice fast to just clear your system out and be in a good space to start your cleanse.
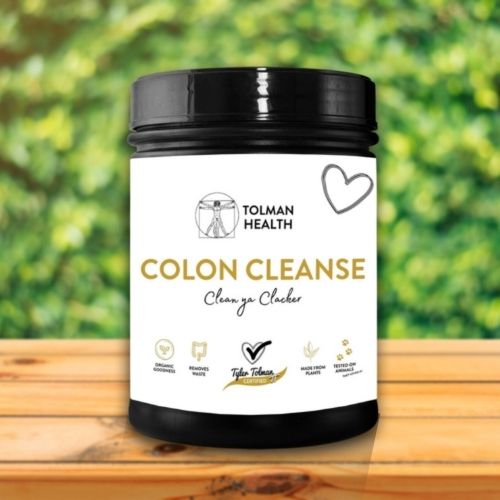
I also recommend a salt flush to people who are doing my 4 Day Colon Cleanse. The salt flush gives the fibres and clays in the colon cleanse a little extra help to sweep out all the toxin loaded waste and plaque from the body.
There’s a few tricks that I wanna share with you on how to do a successful salt flush. They really make a massive difference, so read this carefully before you start.
WARNING! You Can’t Use Just Any Salt – Here Are Your Best Options
When doing a salt flush, you first need to source the right kind of salt. You could use Himalayan salt, Celtic, or Epsom salt (note: NOT regular table salt, it must be pure mineral salt). I believe that Epsom salt is the most effective, and it’s pretty much pure magnesium. So, if you are magnesium deficient, Epsom salt would be the best choice for you. However, I have to say that Epsom salt is the hardest one to do as far as taste is concerned. So, if you feel more like Himalayan salt or regular sea salt, you can do that as well and you will still have a pretty effective salt flush.
Salt Water + Shanka Prakshalana = Clean Everything Out!
The first step in this process is to fill up a one-litre container with warm water (not cold or hot) and add a tablespoon of salt. It doesn’t really matter if you use a heaping or a level tablespoon of salt. You should just know that the more salt you use, the more effective your salt flush is going to be. After you add the salt and stir it in, then it’s time to drink it. But first I want to share a little trick with you to make this process even more effective. I actually drink the solution in batches and do some exercises to get in moving through my body.
The exercises are an ancient yoga technique called Shanka Prakshalana.
So, this is how I do it… I drink one-third of the salt solution and then do these exercises. Then, I drink another third of the bottle and do the exercises again. Typically, by the time I’m done doing the exercises for the third time, I will be running to the bathroom to eliminate.
Otherwise, if I don’t do the exercises, it might take 45 minutes to an hour or two before that actually flushes through the body.
Want to know more about Shanka Prakshalana? Great, I’m listing the details below 🙂
These Simple Yoga Exercises Are The Secret To A Successful Salt Flush
Here is how to do Shanka Prakshalana to speed up your salt flush (might be a good idea to tune into the video to watch me do them also).
After drinking your first third of the water, you can start by stretching your arms up above your head. Then, make a shallow squat and as you stand up, stretch the arms again. Repeat this ten times and then move to the next exercise.
Next exercise it to do some lateral rotations. Twisting from your waste, you should rotate your upper body as far as it feels comfortable trying to do a whole range of motion. Let your arms fly around your body so that it actually looks like you are slapping the kidneys with your hands. Do this ten times as well.
Finally, lie on your stomach as if in the cobra position and simply rotate your head to one side whilst looking behind you (look at your ankles). Alternate between the left and right ankle and repeat this ten times.
Then, grab your bottle and drink another third of the salt water and do the exercises again.
And you’re done!
As you can see, this is a very simple process, coupled with simple exercises, that will really clean everything out and make you feel amazing. You can do it every three to four days on a fast to clean out some extra stuff and be squeaky clean. It’s a great way to finish off the 4 day Colon Cleanse and sweep out any remaining waste that’s been blocked. You’ll feel SO much better afterward and your skin will be glowing!
Thanks for reading!